How to Create Studio Ghibli-Style Images with AI Tools
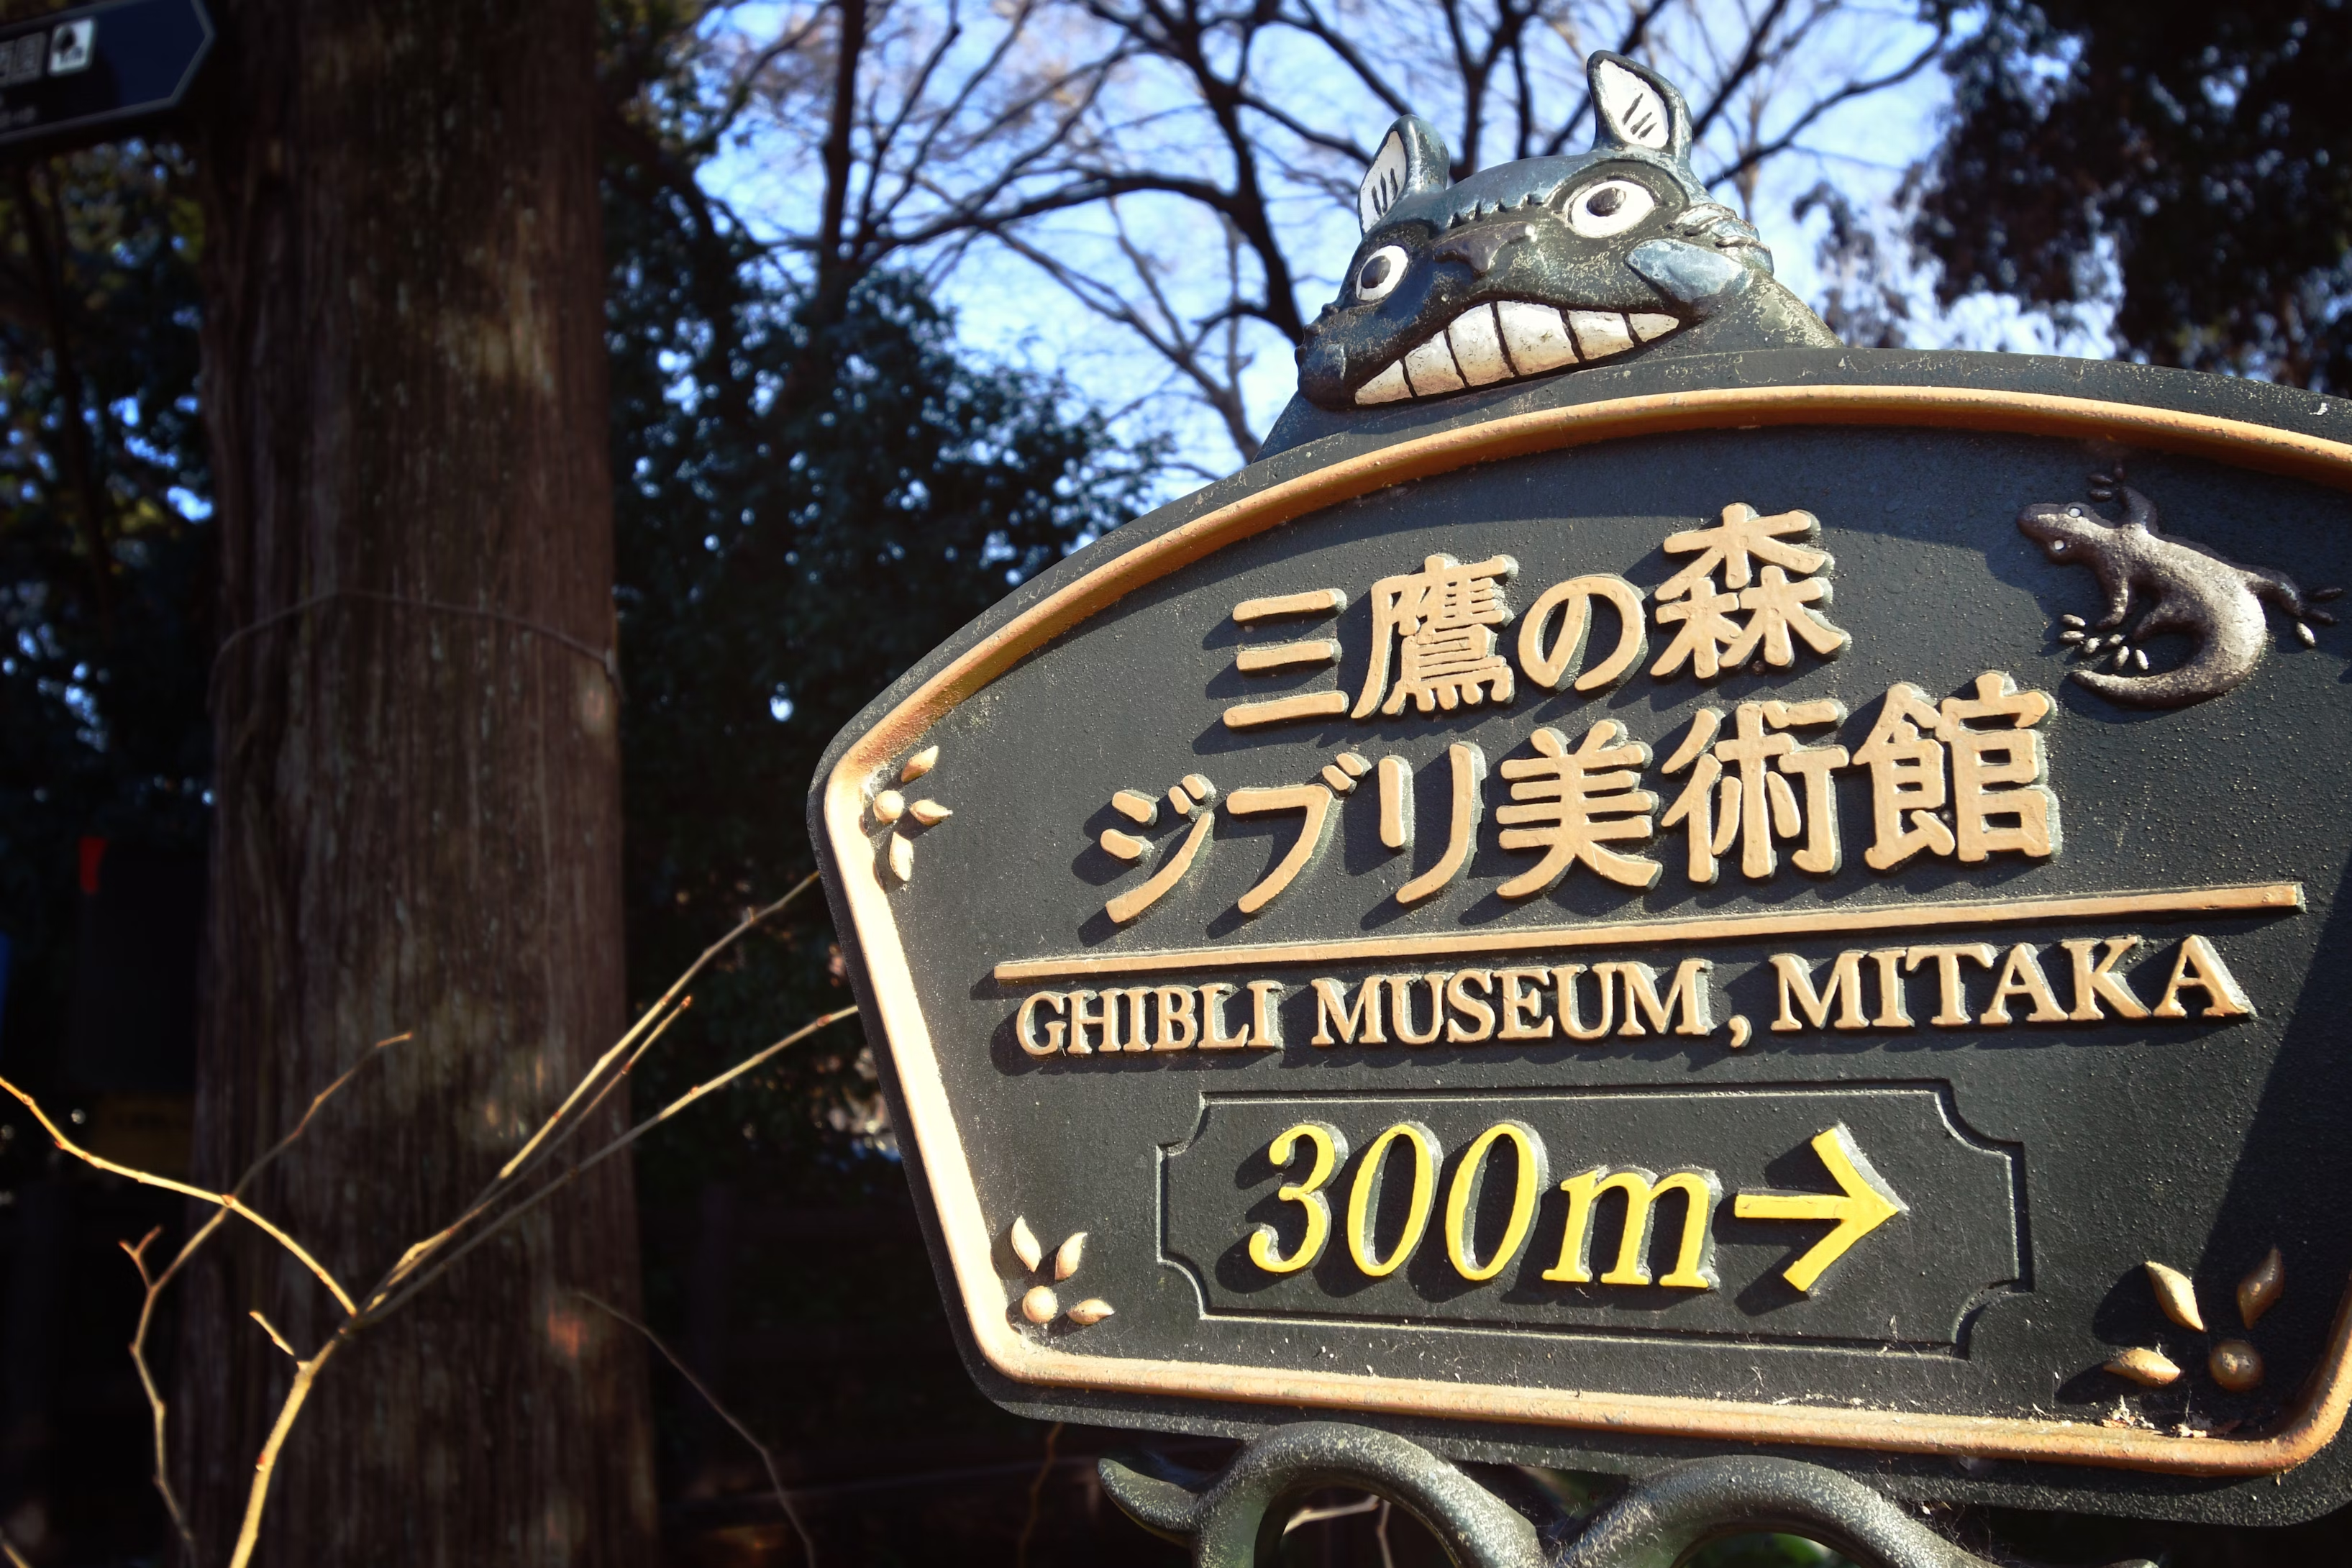
Have you ever wished you could create magical art like Studio Ghibli's? Thanks to AI tools, you can now bring that dream to life. Tools like MidJourney and Stable Diffusion make it possible to craft breathtaking images inspired by Ghibli's signature style. The trend, often called "Ghiblification," has already led to the creation of over 25 million AI-generated images. With the right approach, you can use Ghibli AI to capture the charm of hand-drawn animation and nature-filled fantasy.
Key Takeaways
- Pick the best AI tool for your project. MidJourney gives creative freedom, while Stable Diffusion lets you customize more.
- Write clear and detailed prompts. Add phrases like 'Studio Ghibli style' to help the AI understand.
- Use colors and lighting to create feelings. Warm colors make cozy scenes, and bright lighting adds depth.
- Add nature and fantasy details for a Ghibli look. Mix real-life features with magical touches for charming pictures.
- Improve your images with editing tools. Small changes can make your art look even better.
Choosing the Right AI Tools
Creating Studio Ghibli-style images starts with picking the right AI tool. Each platform offers unique features that can help you achieve the magical, whimsical look you’re aiming for. Let’s explore some of the best options.
MidJourney for Ghibli AI
MidJourney is one of the most popular tools for generating Ghibli-style images. It’s known for its artistic freedom and ability to create dreamy, whimsical landscapes. By simply including "Studio Ghibli style" in your prompts, you can produce stunning visuals that feel like they’re straight out of a Ghibli film.
Users love MidJourney for its strong aesthetic resonance with Studio Ghibli. It’s perfect for crafting scenes filled with lush greenery, soft lighting, and fantastical elements. Whether you’re imagining a quiet village or a magical forest, MidJourney delivers results that capture the charm of Ghibli’s hand-drawn animation.
Here’s a quick comparison of MidJourney with other platforms:
| Feature/Aspect | MidJourney | Other Platforms |
|---|---|---|
| Artistic Freedom | High | Moderate |
| Whimsical Imagery | Yes | Limited |
| Aesthetic Resonance | Strong | Less aligned |
If you’re looking for a tool that brings your Ghibli-inspired ideas to life with minimal effort, MidJourney is a fantastic choice.
Stable Diffusion and Customization Options
Stable Diffusion is another excellent option, especially if you want more control over the final image. This tool allows you to use custom models trained specifically on the Ghibli aesthetic. With Stable Diffusion, you can tweak details like color palettes, lighting, and textures to match the magical vibe of Ghibli films.
One of the standout features of Stable Diffusion is its flexibility. You can experiment with different pre-trained models or even train your own to achieve a unique look. For example, a campaign using ImagineArt’s API (built on Stable Diffusion) generated over 27 million social impressions in just 72 hours. That’s the power of customization!
If you enjoy fine-tuning your creations and want to explore endless possibilities, Stable Diffusion is worth trying.
Other Tools Like Fotor and Getimg.ai
While MidJourney and Stable Diffusion are top choices, other tools like Fotor and Getimg.ai also deserve attention. These platforms are beginner-friendly and offer pre-set filters and templates inspired by Ghibli AI.
For instance, Getimg.ai’s Ghibli Diffusion feature can transform urban photos into magical landscapes in seconds. It’s a great option if you’re short on time but still want high-quality results. Here’s how it compares to other tools:
| Challenge | Solution | Style Accuracy | Processing Time | Engagement Impact |
|---|---|---|---|---|
| Converting urban photos into Ghibli-style magical landscapes | Used Getimg.ai’s Ghibli Diffusion with custom prompts | 92% | 45s | Increased social engagement by 240% |
| Creating anime-style professional headshots | MyEdit’s AI Anime Tool with reference outlines | 88% | 4K resolution | LinkedIn profile views increased 3x |
| Generating 10K+ Ghibli-style images for campaign | Batch processing with ImagineArt’s API | N/A | N/A | 27M+ social impressions in 72hrs |
If you’re new to AI tools or need quick results, these platforms can help you get started without overwhelming you with too many options.
Setting Up the AI Tool
Getting started with AI tools might seem tricky, but it’s easier than you think. Let’s break it down step by step so you can dive into creating your own Studio Ghibli-inspired masterpieces.
Creating Accounts and Accessing Features
The first step is to create an account on your chosen AI platform. Most tools, like MidJourney or Stable Diffusion, require you to sign up before you can access their features. Don’t worry—it’s usually a quick process. You’ll just need an email address and a password. Some platforms even let you sign in using your Google or social media accounts.
Once you’re in, take a moment to explore the dashboard. Many tools offer free trials or limited features to help you get started. Look for tutorials or guides within the platform. These can give you a better idea of how to use the tool effectively. If you’re using a paid version, check out the premium features—they often include advanced options like higher resolution or faster processing.
Installing and Configuring Tools
If you’re using a downloadable tool like Stable Diffusion, you’ll need to install it on your computer. Follow these steps to make the process smooth:
- Download the software from the official website.
- Run the installer and follow the on-screen instructions.
- Choose a folder for installation and wait for the setup to complete.
After installation, you’ll need to configure the tool. This might include selecting a model, adjusting settings, or linking your account. Keep things simple by starting with default settings. You can always tweak them later as you get more comfortable.
💡 Tip: Break tasks into smaller steps to avoid feeling overwhelmed. If the tool offers visual guides or screenshots, use them to understand the process better.
Using Pre-Trained Models and Filters
Most AI tools come with pre-trained models and filters designed to make your life easier. These models are like templates—they’re already trained to recognize specific styles, including the Ghibli AI aesthetic. All you have to do is select the one that matches your vision.
For example, if you’re aiming for a magical forest scene, choose a model that emphasizes nature and soft lighting. Some tools even let you stack filters to add extra effects, like glowing lights or watercolor textures. Experiment with these options to see what works best for your project.
🎨 Pro Tip: Start with pre-trained models to save time. Once you’re familiar with the tool, you can explore custom models for a more personalized touch.
Crafting the Studio Ghibli Aesthetic
Image Source: pexels
Creating Studio Ghibli-style images isn’t just about using the right tools—it’s about capturing the heart and soul of Ghibli’s magical worlds. From writing effective prompts to selecting the perfect colors and incorporating nature, every detail matters. Let’s dive into how you can craft that unmistakable Ghibli aesthetic.
Writing Effective Prompts for Ghibli AI
The key to creating stunning Ghibli-inspired images lies in your prompts. Think of prompts as the instructions you give the AI. The more specific and descriptive you are, the better your results will be. Here’s how you can write prompts that bring your vision to life:
- Be Specific About the Style: Always include phrases like "Studio Ghibli style" to guide the AI toward the right aesthetic.
- Use Whimsical Adjectives: Words like "dreamy," "enchanting," or "nostalgic" help set the mood.
- Highlight Nature and Atmosphere: Describe elements like "misty mountains," "ancient tree roots," or "sunlit meadows" to create detailed, immersive backgrounds.
- Incorporate Themes: Keywords like "friendship," "magic," or "adventure" can influence the composition and storytelling of the image.
- Detail Characters: If your image includes characters, describe their features. For example, "a young girl with wide, curious eyes and a flowing dress" aligns with Ghibli’s character design.
💡 Tip: Experiment with composition keywords like "wide angle" or "cinematic shot" to give your images a film-like quality.
By crafting thoughtful prompts, you can guide Ghibli AI to produce artwork that feels authentic and emotionally resonant.
Selecting Color Palettes and Lighting
Studio Ghibli’s use of color and lighting is nothing short of magical. These elements play a huge role in setting the mood and telling a story. To achieve a similar effect, focus on the following:
- Warm and Cozy Tones: Use warm hues like soft yellows, oranges, and greens to create a comforting atmosphere. These colors often appear in Ghibli’s village scenes or cozy interiors.
- Muted and Reflective Shades: For more emotional or introspective scenes, opt for muted blues, grays, and purples. These tones evoke a sense of calm or nostalgia.
- Dynamic Lighting: Ghibli films often feature soft, natural lighting. Think of sunlight filtering through trees or the golden glow of a sunset. Adding these details can make your images feel alive.
🌅 Pro Tip: Use lighting to highlight key elements in your scene. For example, a beam of light on a character’s face can draw attention and add depth.
Color and lighting aren’t just decorative—they’re storytelling tools. By choosing the right palette and lighting, you can evoke the same emotions that make Ghibli films so memorable.
Incorporating Nature and Fantasy Elements
Nature is at the heart of Studio Ghibli’s aesthetic. From lush forests to serene lakes, Ghibli’s worlds celebrate the beauty of the natural environment. To capture this in your images, focus on these aspects:
| Aspect | Description |
|---|---|
| Role of Nature | Include elements like dense greenery, flowing rivers, or blooming flowers to reflect Ghibli’s love for nature. |
| Environmental Themes | Add subtle nods to conservation or harmony with nature, inspired by films like Princess Mononoke. |
| Visual Style | Use detailed backgrounds with soft, gentle colors to enhance the emotional depth of your scene. |
| Mood Reflection | Incorporate cloudscapes, rain, or sunlight to mirror the emotions of your characters or setting. |
| Magical Realism | Blend fantasy with reality by adding whimsical touches like floating islands or glowing creatures. |
Fantasy elements are just as important. Ghibli’s magic feels grounded because it’s seamlessly woven into everyday life. You can achieve this by adding subtle fantastical details, like a tiny spirit peeking out from behind a tree or a glowing path leading into the woods.
🌳 Note: Balance is key. Too many fantasy elements can overwhelm the scene. Aim for a mix of realism and magic to keep things believable yet enchanting.
By combining nature and fantasy, you can create images that feel both grounded and otherworldly—just like a Studio Ghibli masterpiece.
Advanced Tips and Tricks
Image Source: pexels
Fine-tuning models for authenticity
Fine-tuning your AI models can make a huge difference in achieving that authentic Studio Ghibli look. Pre-trained models are great for starting out, but tweaking them allows you to add your personal touch. You can adjust parameters like texture sharpness, brushstroke styles, or even the density of details in the background.
For example, if you’re using Stable Diffusion, try training the model on a dataset of Ghibli-inspired images. This helps the AI better understand the nuances of the aesthetic, like the soft gradients in skies or the intricate patterns in foliage. You can also experiment with denoising techniques to refine the image quality.
💡 Tip: Start small when fine-tuning. Adjust one parameter at a time to see how it impacts the final result. This keeps the process manageable and helps you learn what works best.
Using reference images effectively
Reference images are your secret weapon for guiding AI tools. They act as visual cues, helping the AI understand the style, composition, and mood you’re aiming for. When selecting reference images, choose ones that highlight key Ghibli elements like lush landscapes, whimsical characters, or magical lighting.
Different models handle reference images in unique ways. Here’s a quick comparison:
| Model | Task | Performance | Advantages | Disadvantages |
|---|---|---|---|---|
| Model 1 | Denoising | High | Fast processing | Limited generalization |
| Model 2 | Deblurring | Medium | Good quality | Slow processing |
| Model 3 | Super-resolution | High | High detail | Requires more resources |
| Model 4 | Compression | Low | Efficient | Poor quality retention |
Using reference images strategically can elevate your creations. For instance, pairing a reference image with a prompt like "Studio Ghibli style, glowing forest, soft lighting" ensures the AI captures the essence of your vision.
Combining tools for enhanced results
Why stick to one tool when you can combine several for even better results? Mixing AI platforms lets you leverage their strengths. For example, you can use MidJourney to generate a dreamy landscape and then refine it with Stable Diffusion for sharper details.
Studies show that combining tools improves accuracy and quality. For instance:
| Study/Source | Findings | Impact |
|---|---|---|
| MIT Study | Multimodal models improve task accuracy | 10-20% increase |
| Stanford Research | Data augmentation boosts effectiveness | 15-20% increase |
| NVIDIA Study | High-quality video generation | FID score of 25 |
This approach works especially well for complex scenes. You can use one tool to create the base image and another to add finishing touches like lighting effects or character details.
🎨 Pro Tip: Don’t be afraid to experiment. Combining tools might take extra time, but the results are often worth it. You’ll end up with images that feel more polished and professional.
Common Mistakes to Avoid
Even with the best tools, creating Studio Ghibli-style images can go wrong if you’re not careful. Let’s look at some common mistakes and how to avoid them.
Overcomplicating Prompts
When writing prompts, it’s easy to get carried away. You might think adding every detail will help, but it often confuses the AI. Instead, keep your prompts clear and focused. For example, instead of saying, "A magical forest with glowing trees, a small village, a river, and a sunset," try something like, "Studio Ghibli style, glowing forest, soft lighting, warm sunset." This keeps the AI on track.
Here are some common issues and how to fix them:
- Your image doesn’t feel “Ghibli” enough? Add stylistic cues like "soft lines" or "watercolor texture."
- Results vary too much? Slightly reword your prompt or generate new images with small tweaks.
- Weird artifacts or unwanted elements? Be specific about what you want to avoid surprises.
- Characters feel generic? Add unique details like clothing, hairstyle, or mood.
🖌️ Tip: Simplicity is key. Start with a basic idea and refine it as needed.
Neglecting Lighting and Color Harmony
Lighting and color are the soul of Studio Ghibli’s art. Ignoring these can make your images feel flat or lifeless. Warm tones like soft yellows and oranges create cozy, inviting scenes, while muted blues and purples evoke calm or nostalgia. Dynamic lighting, like sunlight filtering through trees, adds depth and emotion.
Research shows how important color harmony is in art:
| Author(s) | Year | Title | Summary |
|---|---|---|---|
| Burchett, K. E. | 2002 | Color harmony | Explains how color combinations affect visual appeal and storytelling. |
| Westland, S. et al. | 2007 | Colour Harmony | Discusses rules and principles for achieving harmony in visual design. |
| Chevreul, M. E. & Martel, C. | 1854 | The Principles of Harmony and Contrast of Colours | Foundational work on using color harmony and contrast in the arts. |
🌈 Pro Tip: Use lighting to guide the viewer’s eye. Highlight key elements like characters or magical objects.
Skipping Refinement and Post-Processing
Once the AI generates your image, don’t stop there. Refinement and post-processing can take your art from good to great. Tools like Photoshop or Canva let you adjust colors, sharpen details, or add finishing touches. This step is especially useful for fixing small flaws or enhancing the overall mood.
Skipping this step often leads to images that feel incomplete. Take a moment to review your work. Does the lighting match the mood? Are the colors balanced? Small tweaks can make a big difference.
✨ Note: Think of post-processing as polishing a gem. It’s the final step to make your creation shine.
By avoiding these mistakes, you’ll create Studio Ghibli-style images that truly capture the magic and charm of their world.
Creating Studio Ghibli-style images with AI tools is easier than you might think. By following a structured process, you can capture the magic of Ghibli’s enchanting worlds. Experimentation plays a big role here. Try different prompts, tweak lighting, and refine your images until they feel just right.
The Ghiblification trend shows how Studio Ghibli’s aesthetic has inspired millions of AI-generated artworks. In fact, ChatGPT recorded over 4 billion visits in March 2025, driven by the popularity of Ghibli-themed content. This cultural impact proves the power of blending creativity with technology.
Don’t keep your creations to yourself. Share them with others to inspire and connect. Dive into the world of Ghibli AI and let your imagination soar!
FAQ
What is the best AI tool for beginners to create Ghibli-style images?
If you’re just starting, try tools like Fotor or Getimg.ai. They’re beginner-friendly and offer pre-set filters inspired by Studio Ghibli. You can create magical images quickly without needing advanced skills.
💡 Tip: Start with free trials to explore features before committing to a paid plan.
Can I use AI tools on my phone?
Yes, many AI tools work on mobile devices. Apps like Fotor and Canva have mobile versions, making it easy to create Ghibli-style art on the go. Just download the app, upload your image, and apply filters or prompts.
📱 Pro Tip: Use a stylus for more precise edits on your phone.
How do I make my AI-generated images look more authentic?
Focus on details like lighting, color harmony, and nature elements. Use prompts that include phrases like "soft lighting" or "lush greenery." You can also refine your images with post-processing tools like Photoshop for a polished finish.
✨ Note: Reference images can guide the AI to match your vision more closely.
Are there free options for creating Ghibli-style images?
Yes! Tools like Stable Diffusion and Getimg.ai offer free versions or trials. While they may have limitations, they’re great for experimenting with Ghibli-inspired art without spending money.
🆓 Tip: Check for community-shared pre-trained models to expand your options for free.
Can I sell AI-generated Ghibli-style art?
It depends on the tool’s licensing terms. Some platforms allow commercial use, while others restrict it. Always check the terms of service before selling your creations.
⚠️ Reminder: Avoid using copyrighted elements from Studio Ghibli films to stay on the safe side legally.